Holy shit guys, it's been a long time. So I'm building armatures again, better and cooler than before. This armature has removable arms and a removable head! Also the head will have replacement mouths (clay.) How is that done you ask?
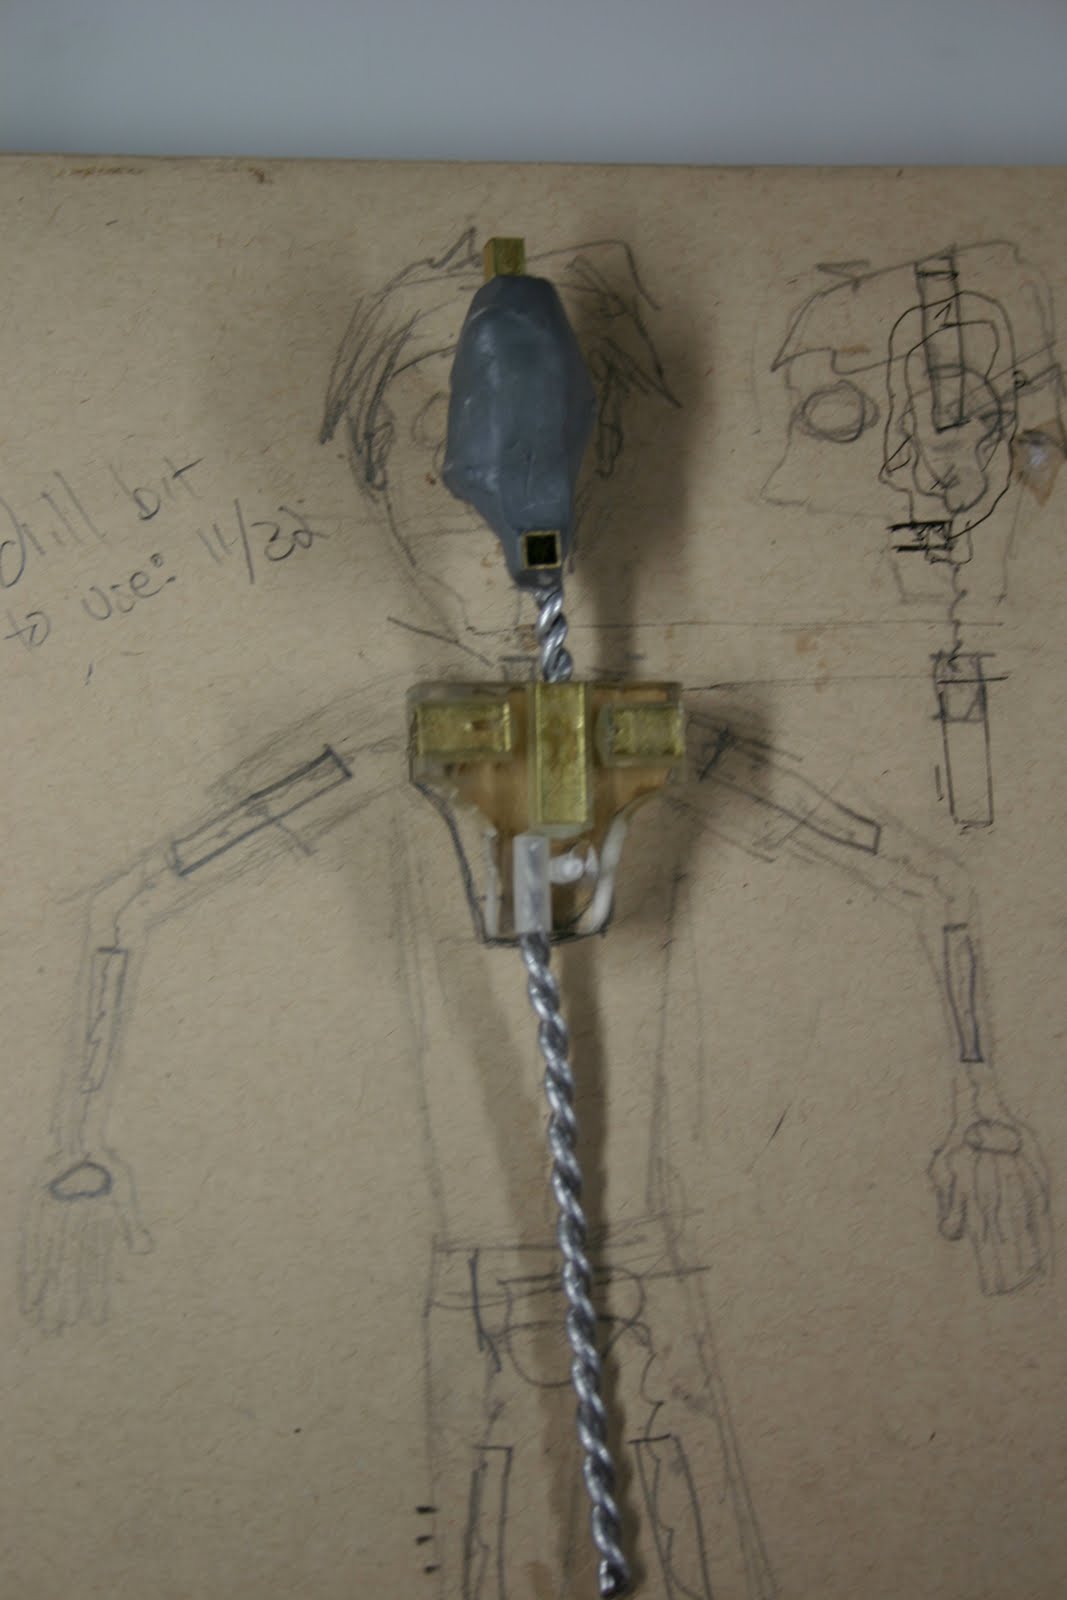
Well, first, as always, make a drawing of the character with the plans. See that thing in the chest, that's pretty important, that's where it all goes down.

So, this below is acrylic plastic. I cut that on a bandsaw and drilled holes in it. The size of those holes are very important and there are about 4 steps and things you need to know before you know what bit to use. It starts with the size of the wire. That wire is going to be doubled up, then fit into a square brass tube and epoxyed in with 5-minute epoxy. And that square brass tube will fit into another square brass tube. Let's go to the next picture.

So, the second and larger square tube fit into the holes that I drilled. (Side note: use a drill press and a good vise to drill these holes. That is hard to find, but if you want to do an armature this way, it's so fucking helpful, actually necessary.) So, the second and larger square tube will fit into the holes that I drilled, and those holes should be as small as possible with the tube able to fit into it. It should be tight in the hole. I glued in the square brass tube with 5 minute epoxy. To do this I had some extra of the first smaller size tube which I put some propoxy in the end so as to plug the smaller tube's hole. Then I dipped the smaller tube in vasoline as a releasing agent. I put the smaller tube in the larger tube (which should fit perfectly) and press them both into the hole which I had filled with 5 minute epoxy. The excess spilled out and I cleaned it.

That there is the armature for the head. Poking out from the left is a tube which the mouths will fit into. On the top and right are tubes that I will use to turn the head, maybe. The tube on the bottom (all these tubes square) will fit into a larger tube in the chest.

There it goes! And there's a hole in the bottom of the chest, that's where the wire to for the spine will go.

There IT is. Those square tubes on right and left for the arms, duh!

There they are!

There again!

That hole in the back is the fly rig. It is a threaded hole that I can screw a bolt into which I can attach to a wire and lift the character up with from the chest. Making a threaded hole is SO much easier than I ever thought it would be. All you need is a tap and a drill bit and a drill! The drill bit and the tap compliment each other, so you need to get the correct bit for the correct tap for the correct bolt.
First, drill the hole. Then use a hand tap to make it threaded. That's right, you make it threaded BY HAND. And this will work not only on acrylic but on metal, it's really simple. Here's what a hand tap looks like:

If you're tapping metal, then turn twice, unscrew, turn four times, unscrew, turn 6 and so on.
So, how do we hold in the head and arm? Real simple, I'm gonna drill a hole through the plastic, through the metal square tubes, make that hole treaded, and then put a screw in it, DUH.


 arm sculpt to be molded
 set, yet to be painted, made out of blue foam (extruded polystyrene)

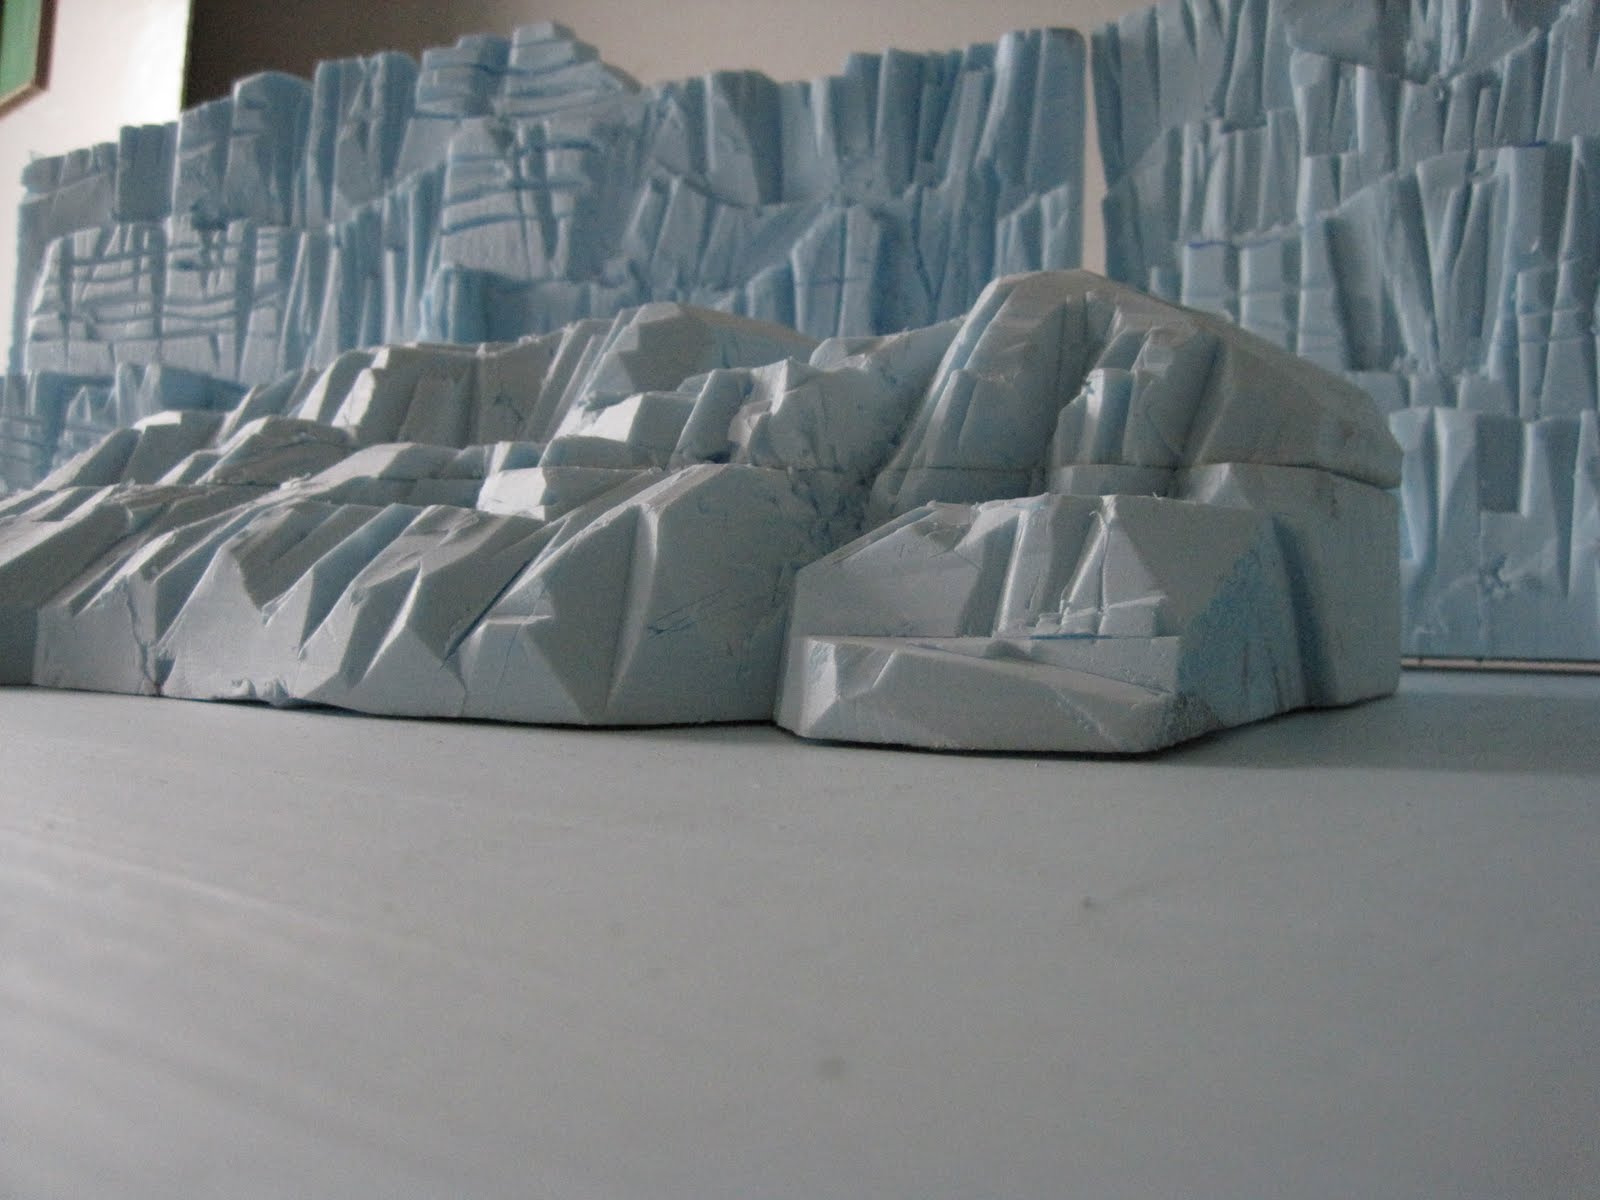
 set part painted with a hot mix of plaster of paris and joint compound


 removable mouths test, more to come on that.




 If you're tapping metal, then turn twice, unscrew, turn four times, unscrew, turn 6 and so on.


